Showing posts with label baby. Show all posts

Thursday, May 28, 2015

Back At Last!

I know, I know, yet again I have neglected my dear readers.  This past school year was a lot, though.  This was the year that I created my own 6-piece collection and showcased it at my school's annual fashion show.  More on that after I talk a little about some projects I did before all that!

First up is this adorable little pair of overalls I made for a friend who had a baby boy in October.  His name is Finnley and he is the cutest thing ever!  The pattern I used for his overalls was Simplicity 2459.  I found this cute plaid on sale for an awesome price when I was still working at Hancock Fabrics.  I used bright orange buttons on the sides to pull out the orange stripes, I did turquoise buttons on the inside where the straps secure, and this was also my first time ever using snap tape.  While I haven't become best friends with the snap tape, I must say it wasn't that hard to work with.


I believe I made these overalls in a size 12 months, so that way he would be able to wear them when he's a little older and possibly still be able to grow into them.  As another special gift for Mr. Finnely, I made a custom embroidery hoop for his room.  I found out his nursery was done in vintage airplanes, so I chose to do that for his hoop.  I love making personal gifts for people, and this piece was a big hit with mom and dad!

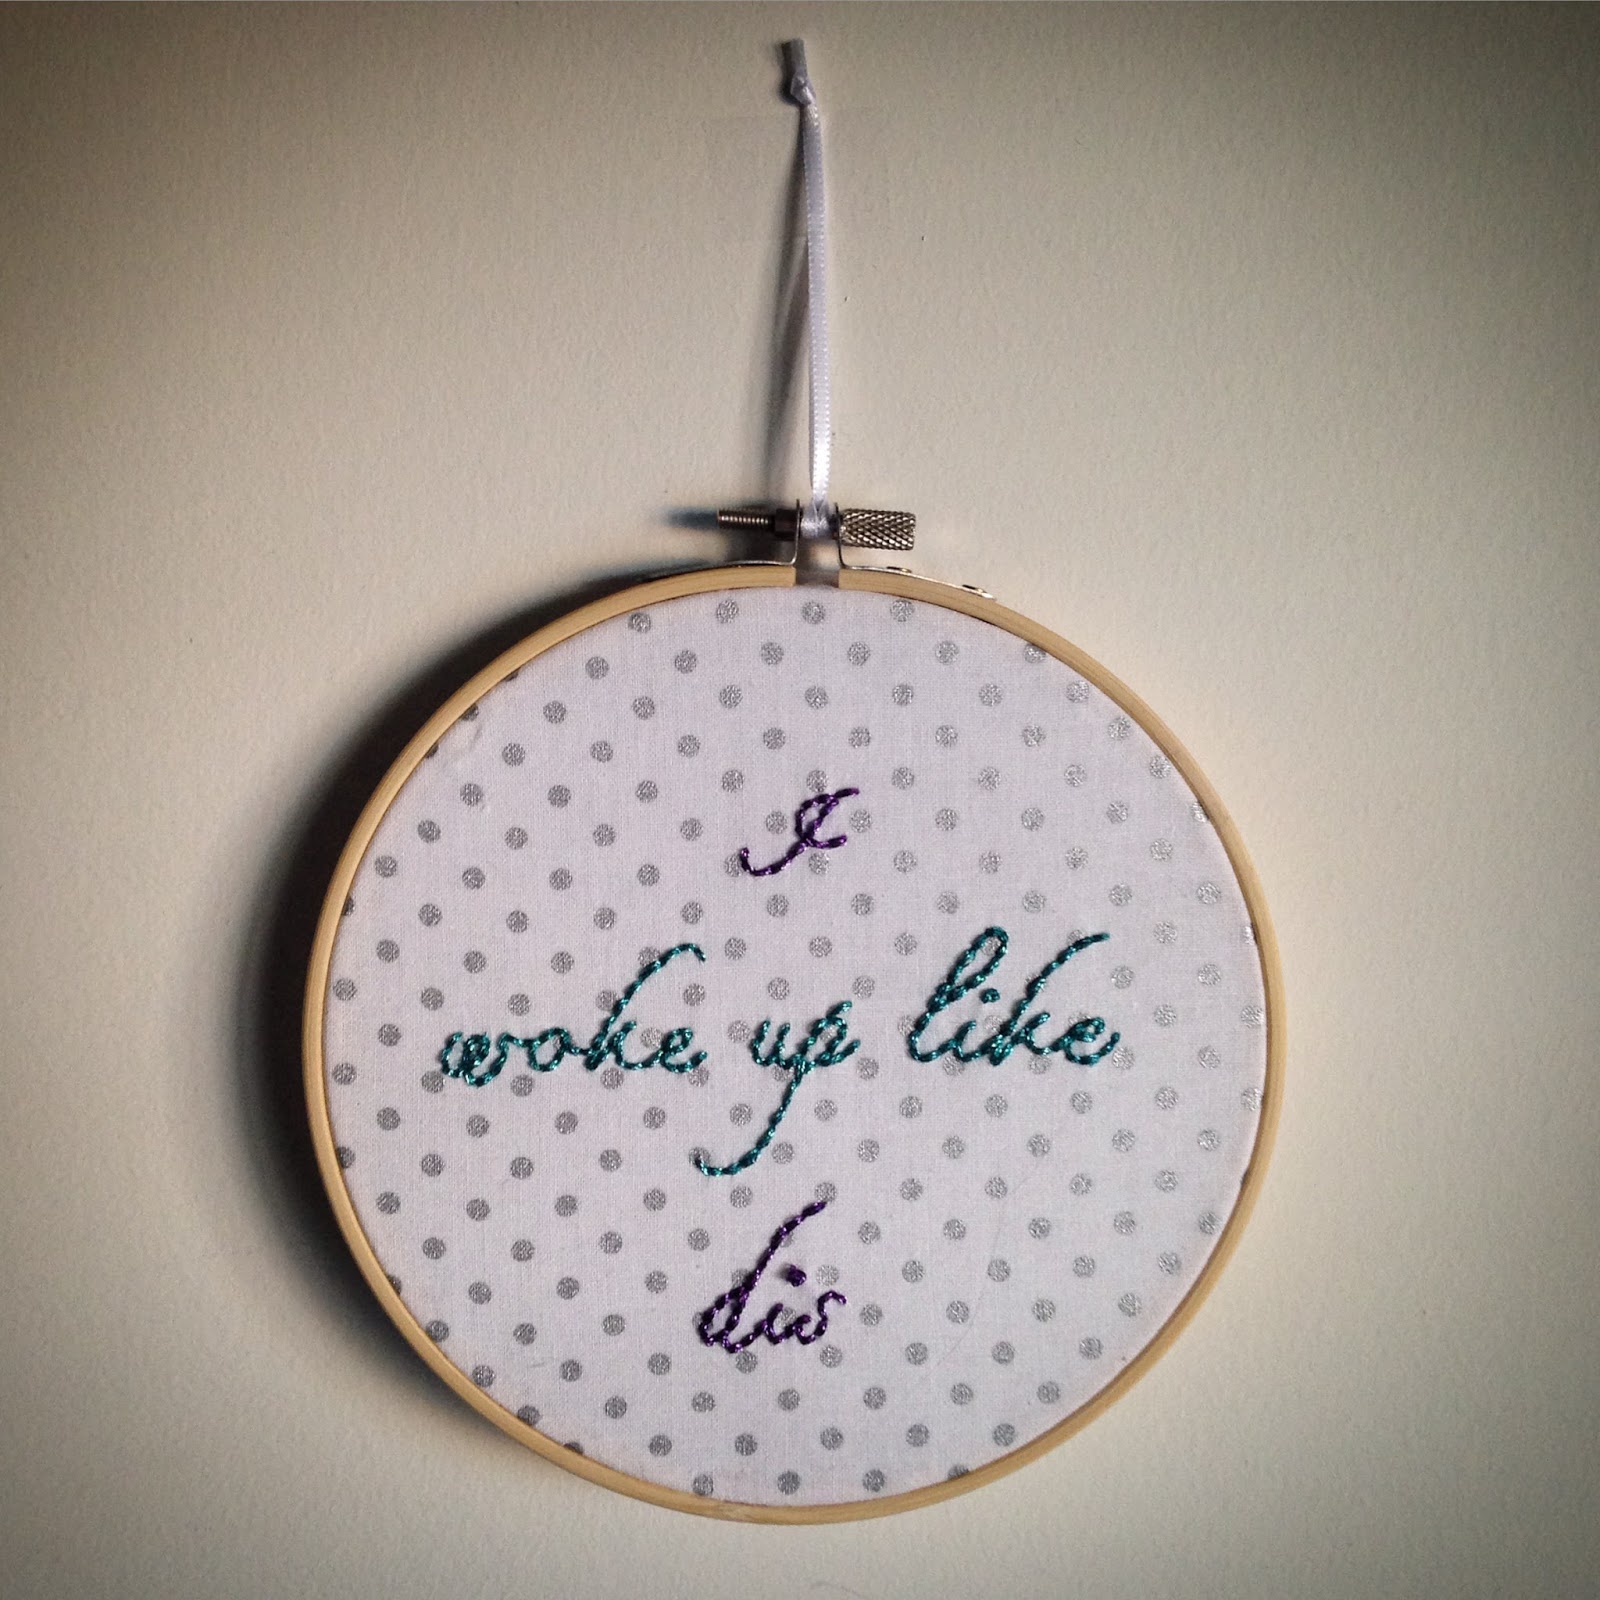
I was on a big hand embroidery kick at the time and was making embroidery hoops for a lot of friends.  Like this hoop I made for one of my best friends at school.  She is a huge Beyonce' fan.  Enough said. Lol  Needless to say she loved it!
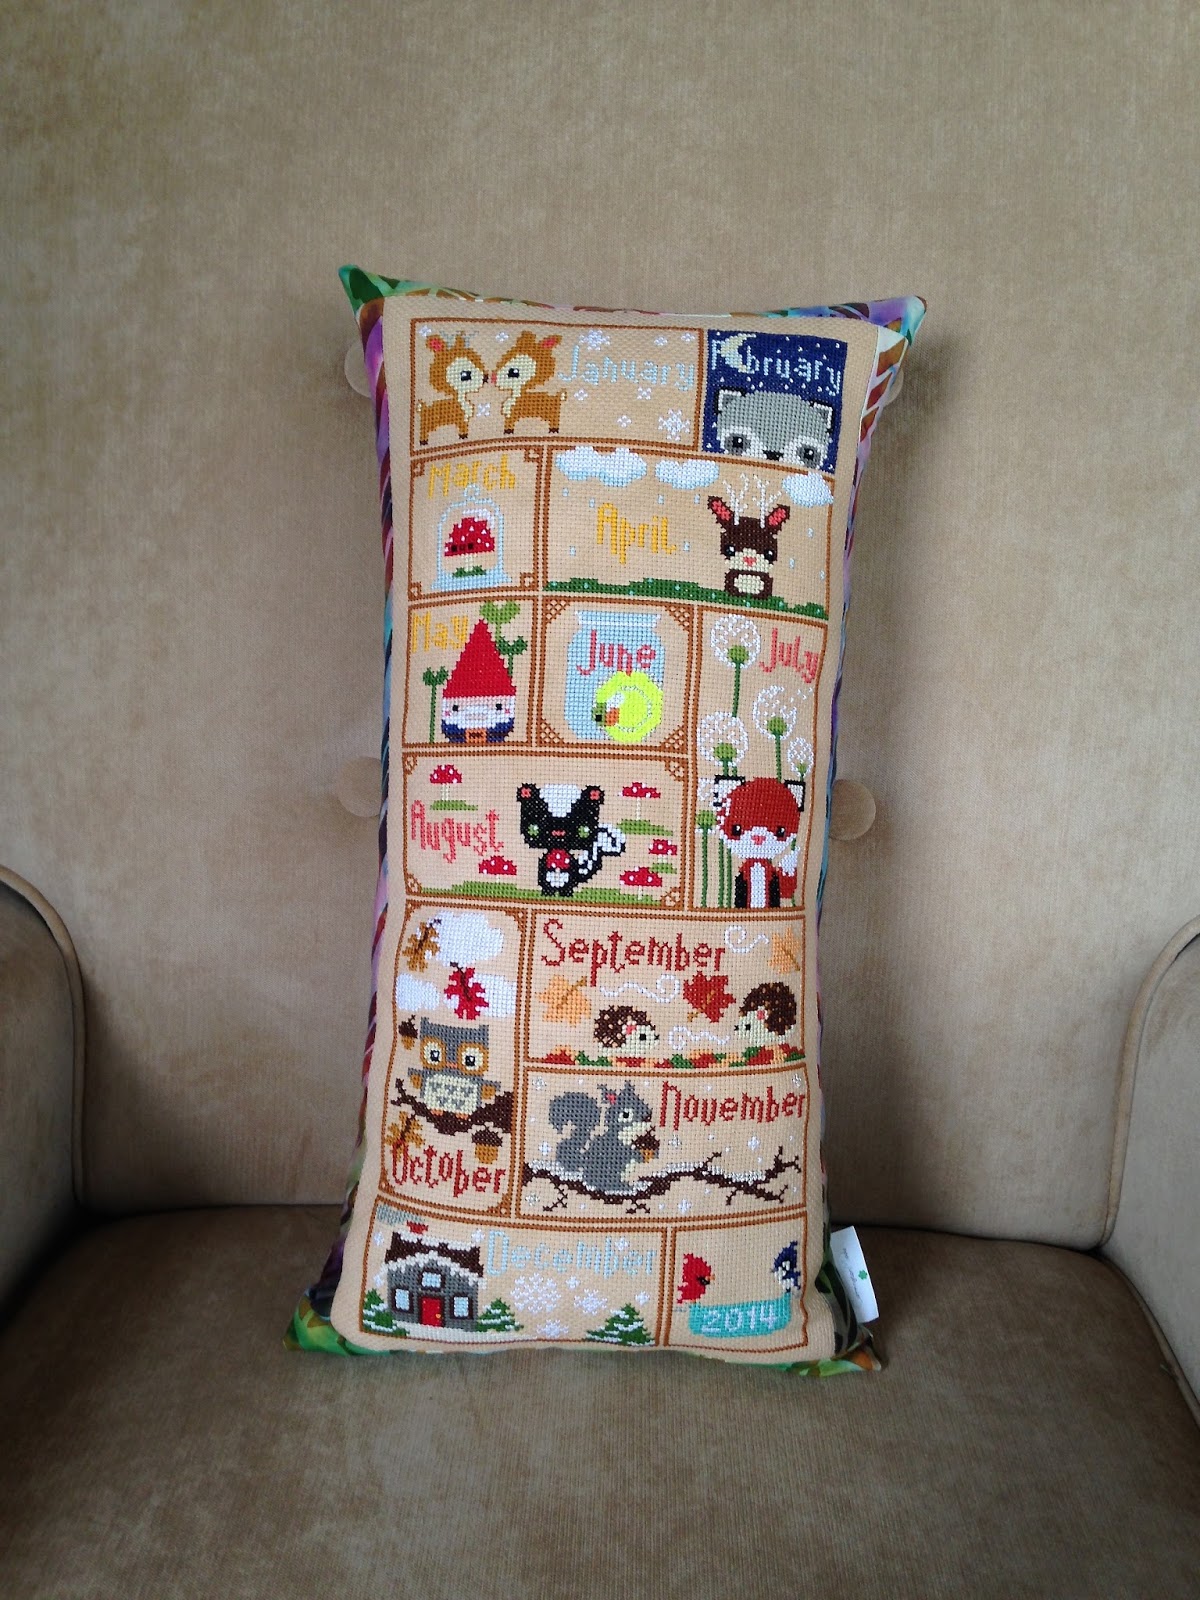
In addition to my embroidery kick, I had gotten into cross stitch.  I had never cross stitched before, but started with some cute patterns from The Frosted Pumpkin Stitchery.  I you love cross stitching, and have not experienced all the kawaiiness (cuteness) of The Frosted Pumpkin Stitchery patterns, then you are truly missing out!  Being that I was a first-time stitcher, it was great that their patterns are easy to understand, easy to follow, and explain everything so clearly.  I think I had already bought 2 patterns when I decided to buy their Woodland Sampler to stitch up for a friend who loves anything woodland.

This pattern is a 12-month one, which means it originally came out as a block-per-month.  In total I think it took me about 3 or 4 months to stitch it up.  I was on a mission to have it finished as a Christmas present for her.  Once I had it stitched up, I decided to make a cute little pillow for her...because y'all, she has a real pillow addiction!  For the backing of the pillow and as a little border around the front, I used an awesome batik cotton I found at fabric.com.



Well, now we've made it to 2015.  Spring semester!  The semester of the fashion show!  For my collection, I chose to do a little girl's line.  I've discovered that that is what I want to do with my life.  Be in the childrenswear industry, whether as a designer at a company or have my own line.  I will also be doing a little girl's line for my senior collection.  Before I get too much into my collection, though, I must show off my dress I made for my school's Pantone Cocktail Party.

We were told to come dressed as a Pantone color of the year, and I chose 2001's Fuchsia Rose.  For my dress I used New Look 6143 and the fabric is a stretch cotton sateen I got on sale at Fashion Fabrics Club.  The polka dot tulle I found at Joann's.

My friend Hannah, pictured with me, also made her outfit.  She drafted the pattern for the top and skirt herself.  She went as Pantone's Emerald of 2013.  

This picture is a great representation of our friendship. Lol

Now, at this point it was just a few short weeks to the fashion show.  All garments are complete, we're finishing up accessories, and preparing for our jury presentations.

As part of the junior class requirements, we had to make every single piece of clothing, and any accessories we used had to be made by us or altered significantly in some way.

My collection name is Lil' Miss RockaBetty, and it is for little girls 3-7 years old.  My inspiration was the 1950s Rockabilly culture, that is still prevalent in today's time.  I wanted each piece to be cute and functional.  All my fabrics are 100% cotton.  My 6-piece collection included:
1. a peplum top with a pair of stretchy denim jeans
2. a dress with pleated skirt and 3/4 length sleeves
3. a two-tone gingham skirt with a sleeveless top
4. a polka dot sleeveless top paired with gingham shorts, feat. removable suspenders
5. a sleeveless polka dot dress with red pearl snaps down the front
6. a cherry print romper with red pearl snaps in the front and adjustable shoulder ties

My accessories included a picnic basket I wove with gingham ribbon and I made a gingham liner for it.  I made pinwheels, a reversible hair tie, a purse I covered in fabric-inside and out, and a headband featuring giant cherries I made from styrofoam balls and paperclay.  I also made a cherry necklace from small styrofoam balls and paperclay.  The piece I love the most, though, is the cherry purse I made.  I used brown circular boxes that I cut and covered in vinyl, glued together, and lined with gingham.  I also cut out some foam leaves and added a brown leather cord strap.


I am so pleased with how everything came out and my little models made each piece even more adorable.  These little girls are so stinkin' cute and I am so proud of them!  It was so great seeing a collection that I produced go down the runway and I can't wait until next year for my senior one!


Well, that's all the updates I have for now.  You won't have to wait months to hear from me again, though.  May 30th I'm heading to New York for a week with other girls from the fashion department at my school and our Fashion Dean.  It is our required travel trip through the school, and as part of the class we have to blog daily about our time there.

So, next time you hear from me I'll be updating form the Big Apple!  Until next time y'all!

Thursday, March 20, 2014

Baby Silk Embroidery - Simplicity 2392

One of the classes I am taking this semester is Silk Embroidery.  I've dabbled in regular hand embroidery a few times and absolutely love it, so when the opportunity came up to take this class in place of another one that was cancelled I was excited.  For those of you who may not know what silk embroidery is here is how it is different form regular embroidery:

while regular embroidery typically uses cotton thread,

silk embroidery is done with 100% silk ribbon.
You even do the same stitches as you would in regular embroidery, but of course the size of the ribbon is what makes the stitches have a different look.  Silk ribbon embroidery is used a lot for doing floral motifs on things since the thickness of the ribbon gives good texture.

Now that you know a little about silk ribbon embroidery, back to the project!  The first project we were assigned for the silk embroidery class was a child garment.  No particular style or requirement for the garment, except that we did the embroidery on it and add lace somehow.  As soon as I saw this vintage pattern reprint from Simplicity I knew I had to use it for this project.  The feel of the embroidery just fits so well with the dress style.
I chose to sew up view B (the pink and white) but did the sleeve from view C.  


The embroidery I did on the front yoke of the dress is similar in layout and style to the embroidery idea they include in the pattern instructions.  I did a twisted/stem stitch for the flower stems, la daisy stitch for the flower petals, knots of r the flower centers, and ribbon stitch for the leaves.  I was still figuring out the twisted/stem stitch so the stems on these flowers look a little wonky.

 The part of the embroidery I did change was the embroidery on the bottom band.  Instead of the small flowers they did I wanted to make it look like the flowers were growing out of the hem of the dress.  I did all the same stitches as on the yoke, just bigger :)  and the twisted/stem stitch looks A QUADRILLION TIMES BETTER!  Ok, slight exaggeration there...but they do look so much better.  I was finally getting the hang of it.

And here are just a couple more pictures of the rest of the dress.  The armholes are faced, and the pattern even includes a piece to make the bias tape for them!  For the back yoke I chose two button that have a rainbow effect iridescence to them.

I am so pleased with how this dress turned out!  It is so adorable!  I even considered at one point selling it, but it's too cute to give away and plus I can save it for my future little girl...3, 4, 6 years down the road! lol

Tuesday, May 21, 2013

A Blanket for Baby

hello wonderful readers!  i know, it's been such a long time since we've last met, and i'm sorry for that.  i've now completed my first year of fashion design school! craziness!!  this past year has been great, and i can't wait for the rest of these years!  well, now that school's out for the summer i've been able to get back to sewing for myself and others and updating my blog.  this project i actually did while the semester was still in session.

my cousin was pregnant with her 1st baby, a boy, and so i decided i wanted to make her something for her baby shower.  my creation of choice, a cute little baby blanket.  i found this awesome tutorial over at Tie It With A Bow for a simple baby blanket.  this was the first time i had ever made a baby blanket, but i was not daunted by the idea and persevered on!


for my blanket i bought the green with dinosaurs at Hancock Fabrics and the polka dots and safari animals at Joann.  i also bought light green minky for the blanket backing.


once i had all the squares sewn together i stacked all the layers (minky on bottom wrong side up, batting, then quilt layer on top) and stitched-in-the-ditch on top.  i then took the blue satin blanket binding and sewed it around the edges, with help from this great tutorial, using a decorative zig-zag stitch.


and all finished!  easiest 1st-time baby blanket ever!  i made this in February, and now this precious little boy, born in March, is here to enjoy it!!


Monday, March 25, 2013

Blog Catch-up: Shoes For Baby

hello all my wonderful readers!  i know, it's been such a long time since my last post!  mostly in part to me being in school and staying tied up with homework.  i do hate that i'm not able to do as much sewing as before, but i absolutely love school and everything about O'More!!

this post is about a little, literally little, sewing project i did back in december.  one of my former co-workers' daughter was pregnant with her first baby, and my co-worker's first grand baby!  everyone in their family was so excited about the news...and even more excited when they found out it was a little girl.  when i found out they were having a little girl i knew i wanted to do some sewing for the little miss...who is named Savannah Jane, and she made her debut in February.

i had some leftover fabrics and decided to whip up something from those.  i went to Hobby Lobby on one of their $0.99 Simplicity pattern days and found a cute pattern for some baby booties and shoes.  i chose the little shoes that had the strap going across the top.

this was my first time ever making baby items and so i followed this pattern to a 't'.  it was actually really fun making these shoes because they were so tiny and they turned out so cute.


for these multicolor ones i did a cute little plastic heart button on the top of the strap for a cute little detail.


for these blue and green ones, i chose the awesome flat, felt buttons that coordinated with the button-shaped flowers on the fabric.

when i finally got these surprise shoes to the granny-to-be she was so ecstatic about them!  seeing the reaction of joy on her face reminded me even more why i love to make surprise items for people!  i also found out not too long ago that her other daughter is expecting her first baby, a boy, in june...so there may be another surprise baby gift in the works.  until then, onto the next blog catch-up!!