wow, i can't believe how badly i've neglected my blog and updating my wonderful readers!! I could've updated over my summer break, but i'm a Professional Procrastinator (lol) and didn't feel like it. last semester was absolutely insane! there were so many nights where i didn't sleep a wink and by the end of the semester i just wanted to cry! the main culprit of the sleepless nights was my final gown for my Draping class. it turned out beautifully but the process was kind of a pain. more about that later on but first i'll post the projects i completed before then.
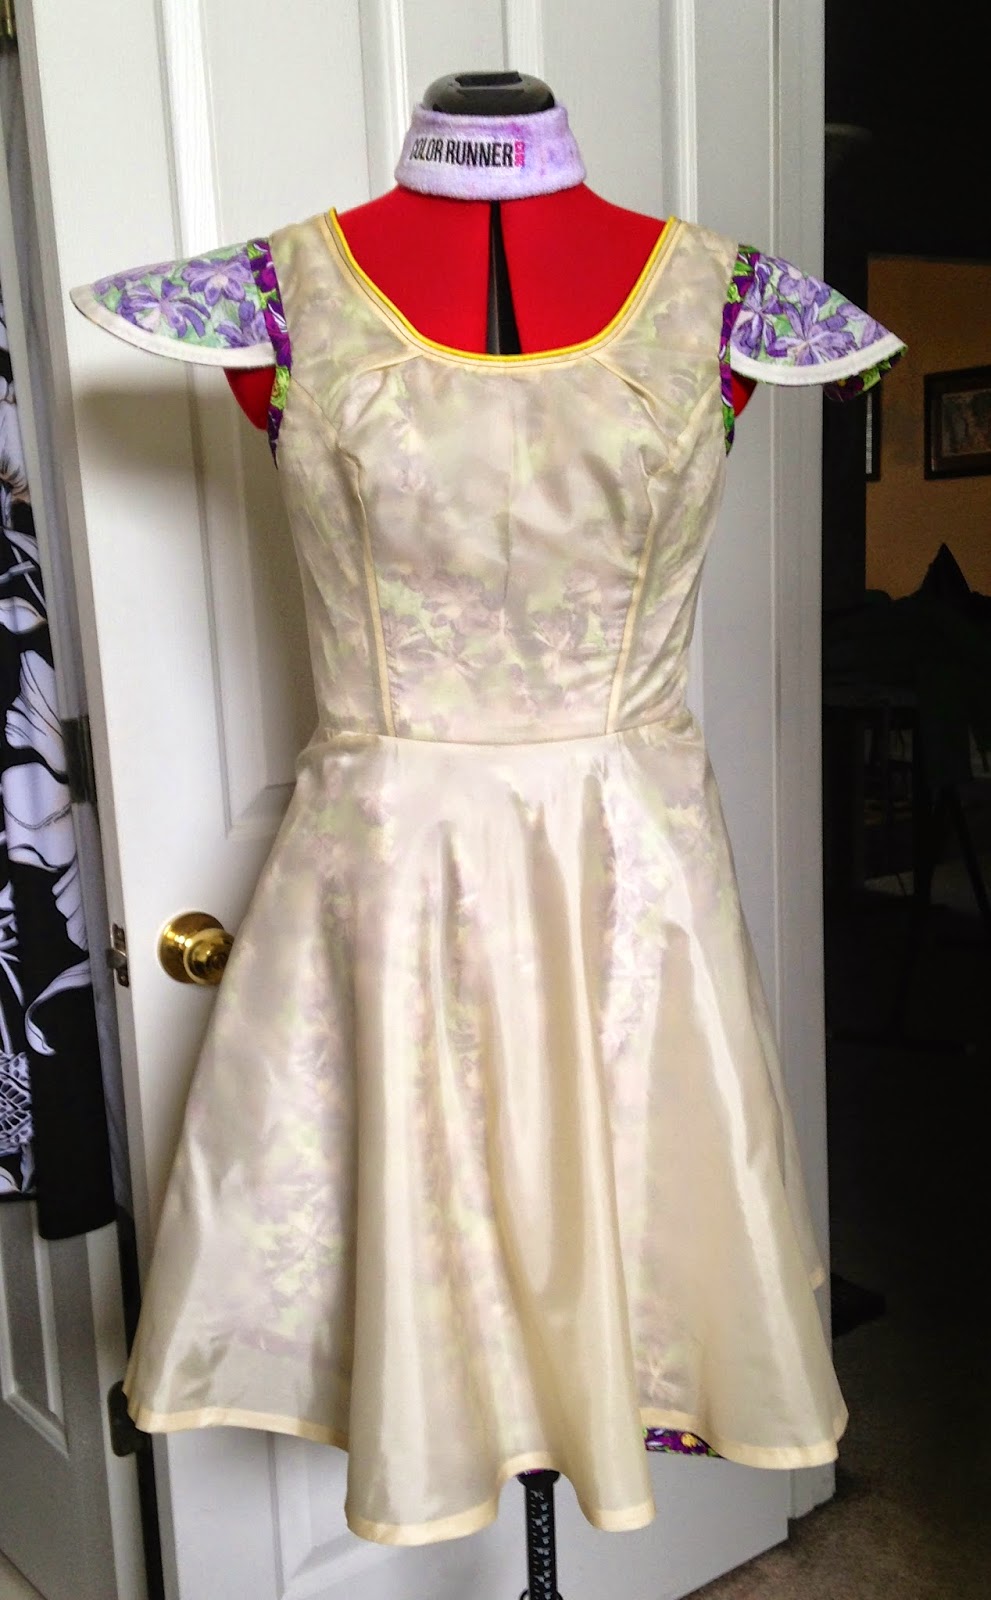
first up is the floral day dress, which was the first project of my Draping class. i did yellow piping accents, pleats at the neckline, a little flutter sleeve with bias tape hemming, hand sewn buttonhole for the back strap. it is fully lined (minus the sleeve piece) and i did a bias tape faced hem with bias tape i made myself.



next is the final dress i made for my Silk Embroidery class. i completely sewed the dress and did all the embroidery myself. we even had to add "embroidery" to a coordinating hat.

now for the project that was the real pain. this 1950s inspired evening gown was the final for my Draping class. we had free reign of what we wanted to do, so of course i had to go with my 1950s! lol for my gown i did a sweetheart neckline bodice from yellow satin, then i did an overlay of yellow ruched chiffon (which i painstakingly ruched myself). on the front bodice i started the chiffon so that it would hit right under the bust. the bodice is also fully lined and has boning. the skirt portion is intense. i cut two full circles from the satin, then the chiffon i cut 4 full circles. i wanted it to be full!! lol i also added 4 layers of tulle, and did a lining. i made the gown to fit myself, but my gown ended up being chosen to be part of the school fashion show so i ended up having to make my gown fit a size 2! let me tell ya, i'm no where near a 2!! lol luckily my teacher helped me in figuring out how to tack it in so the bodice fit. and i must say the gown looked fantastic going down the runway!


once the semester was over i was so happy! it was great to finally get some sleep after that gown! next up on my sewing to-do list though, was sewing my bridesmaid dress for my best friend's wedding in June. she let all of us bridesmaids have different style dresses, as long the color was plum, and she even said i could make mine! for the dress i used Simplicity 2442. the upper portion ended up being a tad big, but at least the dress looked good on! i used a plum satin and lined the bodice with a purple pongee lining.

i had a few other random sewing projects i did for myself after my dress, but the final one for this post is a duffle bag i made myself. my mom and i went to Las Vegas with family in August, and i needed a bag that i could use as a carryon. i found a great tutorial online on how to make the style bag i was looking for, then i just substituted my desired measurements. the fabric was a quilted cotton i found at Joann's. for the straps i used the opposite side of the fabric. since the bag is soft it was perfect as a carryon, it just squished right into the overhead, and was big enough for taking clothes for 5 days!

so that's some of what i was up to this summer! i'll try not to neglect y'all as much anymore. until next time!


