Showing posts with label dress. Show all posts

Sunday, October 12, 2014

Blog Catchup: End of Spring 2014 Semester & Summer Sewing

wow, i can't believe how badly i've neglected my blog and updating my wonderful readers!!  I could've updated over my summer break, but i'm a Professional Procrastinator (lol) and didn't feel like it.  last semester was absolutely insane!  there were so many nights where i didn't sleep a wink and by the end of the semester i just wanted to cry!  the main culprit of the sleepless nights was my final gown for my Draping class.  it turned out beautifully but the process was kind of a pain.  more about that later on but first i'll post the projects i completed before then.

first up is the floral day dress, which was the first project of my Draping class.  i did yellow piping accents, pleats at the neckline, a little flutter sleeve with bias tape hemming, hand sewn buttonhole for the back strap.  it is fully lined (minus the sleeve piece) and i did a bias tape faced hem with bias tape i made myself.


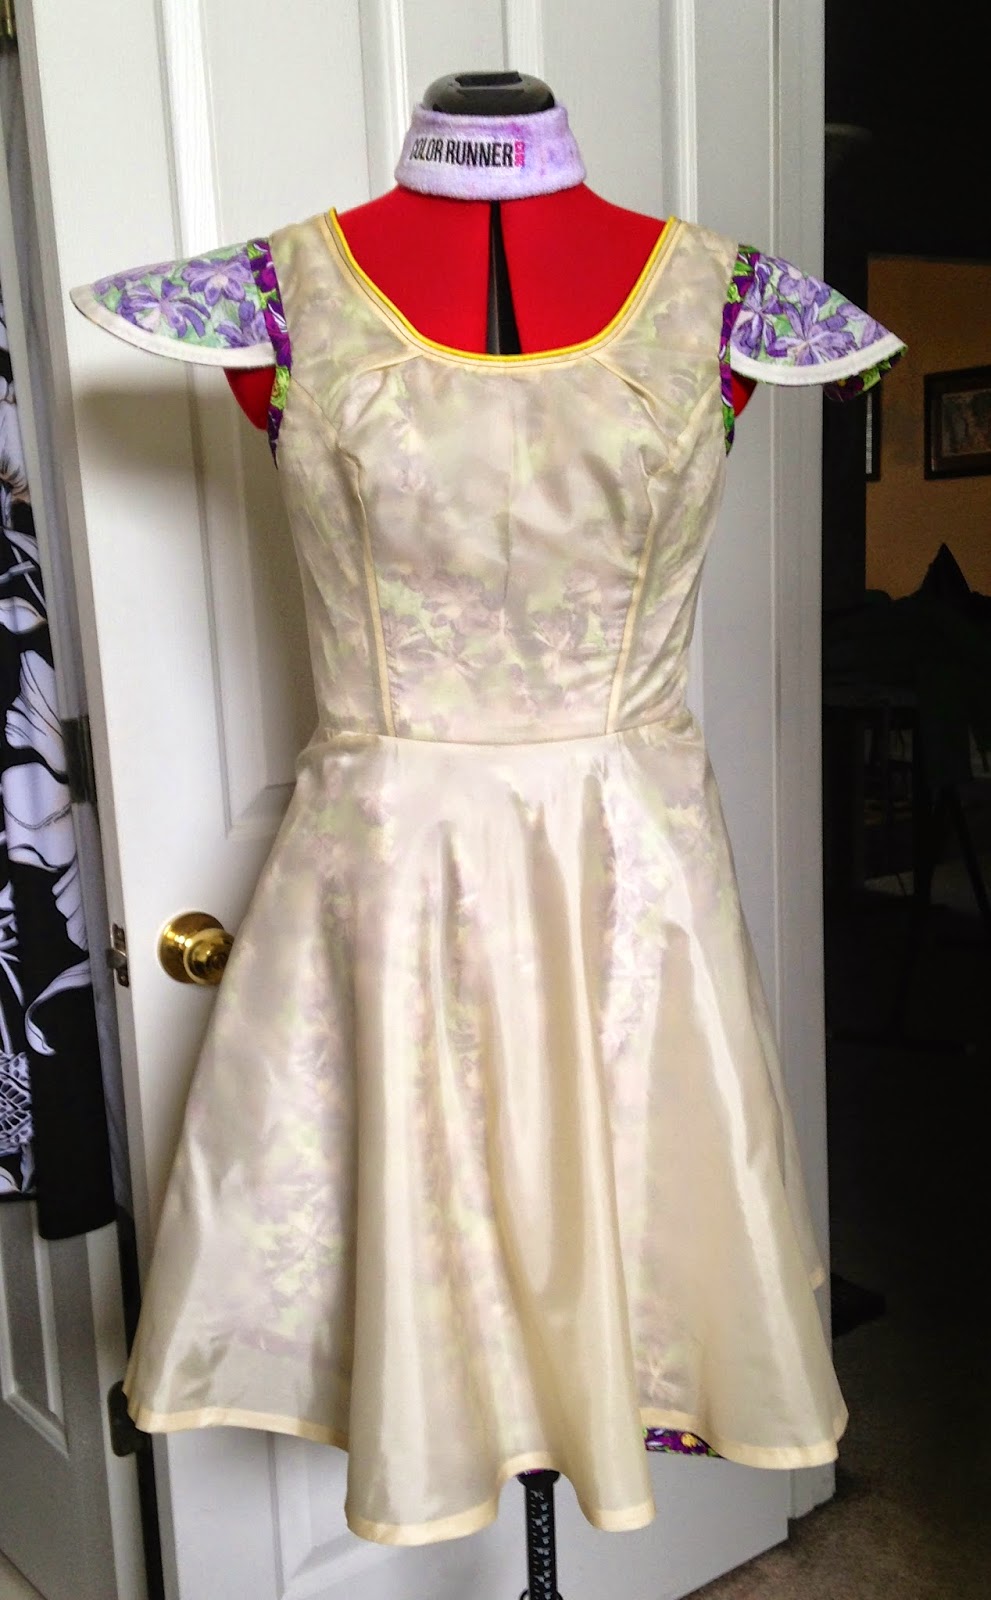


next is the final dress i made for my Silk Embroidery class.  i completely sewed the dress and did all the embroidery myself.  we even had to add "embroidery" to a coordinating hat.


now for the project that was the real pain.  this 1950s inspired evening gown was the final for my Draping class.  we had free reign of what we wanted to do, so of course i had to go with my 1950s! lol  for my gown i did a sweetheart neckline bodice from yellow satin, then i did an overlay of yellow ruched chiffon (which i painstakingly ruched myself).  on the front bodice i started the chiffon so that it would hit right under the bust.  the bodice is also fully lined and has boning.  the skirt portion is intense.  i cut two full circles from the satin, then the chiffon i cut 4 full circles.  i wanted it to be full!! lol  i also added 4 layers of tulle, and did a lining.  i made the gown to fit myself, but my gown ended up being chosen to be part of the school fashion show so i ended up having to make my gown fit a size 2!  let me tell ya, i'm no where near a 2!! lol  luckily my teacher helped me in figuring out how to tack it in so the bodice fit.  and i must say the gown looked fantastic going down the runway!


once the semester was over i was so happy! it was great to finally get some sleep after that gown!  next up on my sewing to-do list though, was sewing my bridesmaid dress for my best friend's wedding in June.  she let all of us bridesmaids have different style dresses, as long the color was plum, and she even said i could make mine!  for the dress i used Simplicity 2442.  the upper portion ended up being a tad big, but at least the dress looked good on!  i used a plum satin and lined the bodice with a purple pongee lining.


i had a few other random sewing projects i did for myself after my dress, but the final one for this post is a duffle bag i made myself.  my mom and i went to Las Vegas with family in August, and i needed a bag that i could use as a carryon.  i found a great tutorial online on how to make the style bag i was looking for, then i just substituted my desired measurements.  the fabric was a quilted cotton i found at Joann's.  for the straps i used the opposite side of the fabric.  since the bag is soft it was perfect as a carryon, it just squished right into the overhead, and was big enough for taking clothes for 5 days!

so that's some of what i was up to this summer!  i'll try not to neglect y'all as much anymore.  until next time!

Thursday, May 30, 2013

Feelin' Groovy - Simplicity 1609

for my latest dress i used my new favorite pattern.. as soon as i saw this pattern in an email Simplicity sent me i knew i had to buy it! hello, 1960s obsession!  so i swung by Hobby Lobby and bought it when they had their $0.99 Simplicity sale a while ago.  then came the task of finding the perfect fabric to use with the pattern.
i discovered this awesome bright floral print when my mom, my aunt, and i were shopping around in the new JoAnn they opened in KY in the small town we used to live in.  as soon as i saw it i knew it was perfect for the style of dress.


(hmm, not sure why the right picture is blurry. it def wasn't blurry in iPhoto.)
my original plan was to make the dress in the solid green view with the awesome collar.  i changed that plan when i saw this great fabric.  i knew a collar would be too much since the dress was already patterned.  my next version, though, i plan to make it with the collar.  with this pattern, i followed it to a 't'.

this pattern is very easy.  there are only four pattern pieces: back piece, front piece, back facing, and front facing.  my kind of pattern, not complicated.


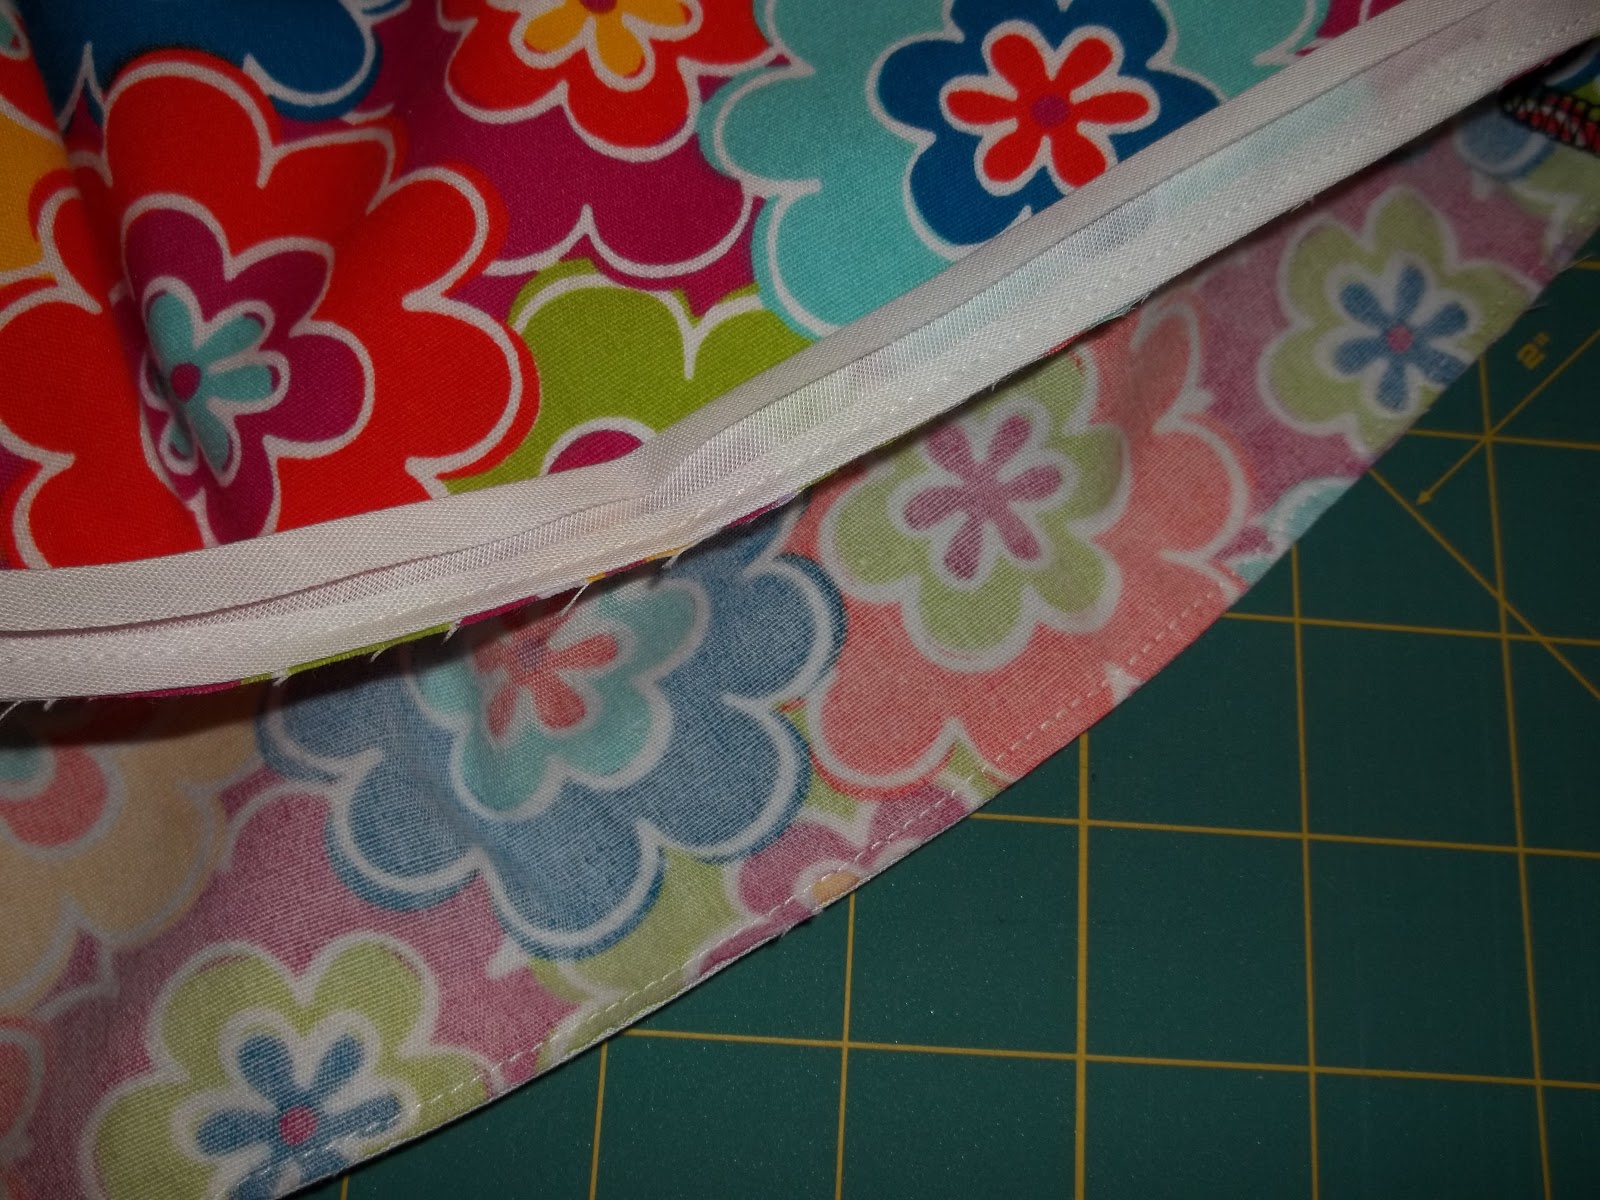
when it came to the hem, i actually was able to take 3" or 4" off before hemming it.  once i cut the excess off, instead of doing a normal turned up hem, i decided to do a faced hem for the first time.  i simply took some leftover cream single fold bias tape i had an sewed it around the right side of the bottom of the dress.  once that was sewn on i pressed the bias tape down, then pressed it up against the inside of the dress so i could sew it in place.  very easy!  i am loving faced hems now!


once the dress was finished i added another little detail by sewing three white buttons on the front.  another thing i like about this pattern, is that when you sew things like buttons on it's easier because you have that front seam.

all-in-all, i really love this pattern and plan to use it quite a bit.  one change i would make though is getting the back neck to fit better.  for some reason the back neck sits out off my back.  should be an easy fix though by tweaking the back neckline darts.


after i had finished the dress i had fabric leftover and knew i couldn't just let it sit around.  so i decided to whip up a skirt.  for this skirt i used New Look 6053 i had in my pattern stash.


due to my farbic restraints i had to cut about 2"-3" off the pattern to make it fit.  since i had to cut some length off i did a faced hem using some leftover satin balnket binding i had.  i didn't have enough binding when it was folded in half, so i cut along the fold line and sewed one end of the two pieces together.  then the edge that was made by me cutting the piece apart i sewed that to the skirt bottom.  the other edge of the binding was already sealed so i was able to just sew it in place.


Wednesday, July 11, 2012

Stripey Stripes

so for my latest dress i was inspired by the renfrew tank dress Andrea from foursquarewalls made.  i love how it's simple, yet sassy.  plus, i've been needing more dresses for summer so my wheels got to turnin'.

first off, i went to Girl Charlee to get some cute fabric for my new dress.  i saw plenty that i liked but the striped fabric Andrea used really caught my eye.  so i ordered two yards.  i'll say, too, that Heather is awesome at providing high quality products and delivering fast!

i found Tally's Treasury while doing a search for a pattern i wanted to use for my dress and from her post it inspired me to make a dress without a pattern.  so i went and grabbed one of my dresses that has a shape and fit that i love and traced that to make my new dress.  so simple!  why didn't i think of this before?! duh!

now that my farbic was in it was time to make my dress.  to start, since my fabric is striped, i took the extra time to make sure all my stripes lined up.  yeah it was a little tedious to do that but the end results were fantastic. 
since the skirt on the dress i traced was wider than my fabric i traced the bodice of the dress and freehanded a simple a-line skirt.  to hem the skirt i folded up the amount i wanted and used my good friend stitch witchery to hold it. 
once i tried the finished dress on i added side bust darts to get rid of the gaping.  to finish the neck and armhole edges i attempted to do the technique Andrea did on her dress, by adding a band of the fabric attached to the raw edges and sew in place.  it worked out great on the armholes, but it just made the neck edge gape more.  so i simply folded the banded edge under and used my good ol' stitch witchery to hold it in place. 


once the dress was finished i went back and added side pockets...using this great tut i found over at Tally's Treasury.  first time for side seam pockets!  i'm kind of obsessed now with doing side seam pockets since i know they are so easy! and for my pockets pattern i simply drew a shape along the edge of my paper and made it have a 6" opening.  voila!  that dress was simple enough!

and since i ordered two yards i had a little over 5/8 of a yard left over.  what did i do with it, you ask?  well i made a skirt of course!  two garments, two yards of fabric!!

for my skirt i just did a simple a-line cut.  i wanted to do a circle skirt but there wasn't enough fabric :(  once again, i took the time to line up my stripes and i inserted side seam pockets.  to finish it off i did a white elastic waistband.  i got lazy and for my skirt i didn't do a hem.

Sunday, April 15, 2012

Goin' Retro

i decided it was time for a new dress, so i went to my fave pattern...Simplicity 3833.  i was in Hancock Fabrics browsing one day and this patterned cotton caught my eye!  the pattern has a unique retro vibe to it, and i immediately envisioned it on this dress and knew i had to get it.  i also bought some solid blue cotton for the front bodice b/c i wanted the dress to be two-toned.  i love this dress and it turned out better than i expected!


another project i worked on this week was a sewing sample.  now that i have discovered my new found love, and wonderful talent, in sewing i decided to apply to O'More College of Design in Franklin, TN to get a bachelors in fashion design!  to finish up the application process i have to submit a sewing sample to the fashion design dept.  this sewing sample consisted of sewing eight 9"x4" fabric pieces together and then sewing on bias tape.  easy enough, since those are all things i've done before!  hopefully all my hard work pays off and i'll be able to proclaim myself as a student at OCD! *it's also funny the school's initials are OCD, b/c that kind of describes me. hehe!*

Wednesday, December 21, 2011

Dots All Around

so, i recently made myself a new dress.  i originally bought the fabric to make another circle skirt, but then thought how i would love to have a new dress.  then i remembered my awesome retro 60s dress pattern i bought, and hadn't used yet!!

and how fitting to make a 60s retro dress using a printed cotton called 'retro dots'?!  thus, lo and behold, i created this dress!  when i tried it on before hemming it fell below my knee and after hemming it was too short to be a dress so i now have a new tunic. lol  nonetheless, i still love it!!...although i am a little sad though that i won't be able to wear it with my awesome red tights.  i can't wait to make more, and see what other fabrics i can try out.