Thursday, May 30, 2013

Feelin' Groovy - Simplicity 1609

for my latest dress i used my new favorite pattern.. as soon as i saw this pattern in an email Simplicity sent me i knew i had to buy it! hello, 1960s obsession!  so i swung by Hobby Lobby and bought it when they had their $0.99 Simplicity sale a while ago.  then came the task of finding the perfect fabric to use with the pattern.
i discovered this awesome bright floral print when my mom, my aunt, and i were shopping around in the new JoAnn they opened in KY in the small town we used to live in.  as soon as i saw it i knew it was perfect for the style of dress.


(hmm, not sure why the right picture is blurry. it def wasn't blurry in iPhoto.)
my original plan was to make the dress in the solid green view with the awesome collar.  i changed that plan when i saw this great fabric.  i knew a collar would be too much since the dress was already patterned.  my next version, though, i plan to make it with the collar.  with this pattern, i followed it to a 't'.

this pattern is very easy.  there are only four pattern pieces: back piece, front piece, back facing, and front facing.  my kind of pattern, not complicated.


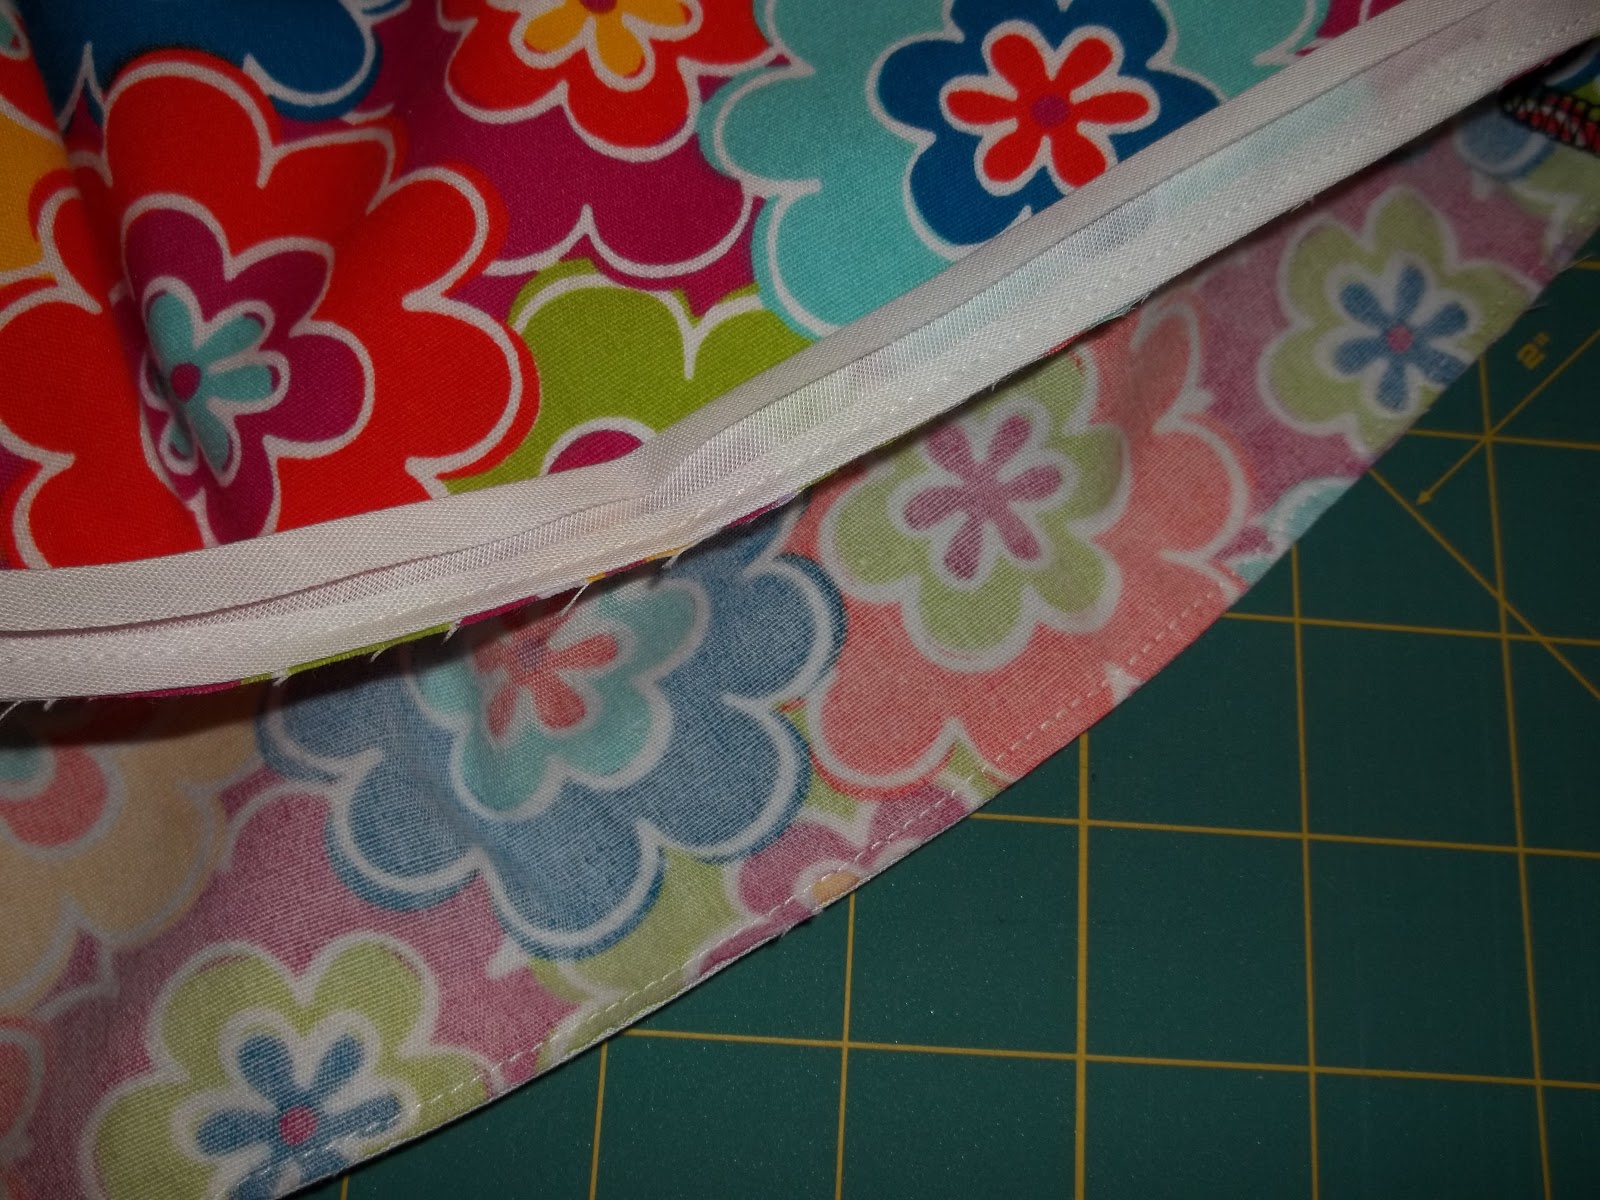
when it came to the hem, i actually was able to take 3" or 4" off before hemming it.  once i cut the excess off, instead of doing a normal turned up hem, i decided to do a faced hem for the first time.  i simply took some leftover cream single fold bias tape i had an sewed it around the right side of the bottom of the dress.  once that was sewn on i pressed the bias tape down, then pressed it up against the inside of the dress so i could sew it in place.  very easy!  i am loving faced hems now!


once the dress was finished i added another little detail by sewing three white buttons on the front.  another thing i like about this pattern, is that when you sew things like buttons on it's easier because you have that front seam.

all-in-all, i really love this pattern and plan to use it quite a bit.  one change i would make though is getting the back neck to fit better.  for some reason the back neck sits out off my back.  should be an easy fix though by tweaking the back neckline darts.


after i had finished the dress i had fabric leftover and knew i couldn't just let it sit around.  so i decided to whip up a skirt.  for this skirt i used New Look 6053 i had in my pattern stash.


due to my farbic restraints i had to cut about 2"-3" off the pattern to make it fit.  since i had to cut some length off i did a faced hem using some leftover satin balnket binding i had.  i didn't have enough binding when it was folded in half, so i cut along the fold line and sewed one end of the two pieces together.  then the edge that was made by me cutting the piece apart i sewed that to the skirt bottom.  the other edge of the binding was already sealed so i was able to just sew it in place.


Wednesday, May 29, 2013

The Perfect Double-Sided Purse

i feel like i am always on the hunt for the perfect purse.  one that is not too big, but not too small to be used as an everyday purse.  it was during my conquest i stumbled upon this purse pattern on where else, Pinterest.  the link took me to the blog for Warehouse Fabrics.  the blog entry features a great tutorial for a roomy pleated purse.

their version of the purse

upon seeing this purse i knew i had to make it because it was exactly what i was looking for.  so i went through my fabric stashes to see what fabrics i had enough of to use for the purse.  in the end, the only things i spent money on for this purse were the webbing straps and the magnetic snap closure.  my kind of project!

for my version of the purse, i used denim on one side and a fun printed cotton on the other.  the denim piece i used was the bottom leg portion of a pair of jeans i cut up a while ago to make a denim skirt.  i cut it open on one side and laid the pattern piece on top and cut.  


i had also been wanting to try my hand at embroidery for a while now, so i decided to embroider the denim side.  as far as the embroidery design, i knew i wanted to do something simple and fun that went with the other side of the purse.  so i chose to do some flowers, swirls, and polka dots.  i used lime green, teal, yellow, and white embroidery floss.  to make the two big flowers i simply traced a flower sticker i have.  everything else was freehanded.  also, i meant to embroider the piece before i ironed the interfacing onto the back of it so that it would be a little more flimsy while trying to hold it, but i forgot. i was still able to embroider it with the interfacing on the back, though.  i also serged around the edges of the denim to prevent fraying as i was handling it.


this is what the denim piece looked like once i finished the embroidery.  i did a simple running stitch because i liked the look of it the most, and also because this was my first time embroidering anything.


once i had the embroidery done it was construction time!  i added teal piping around the top band but didn't ad it around the body of the purse since my version has two different sides. i figured the body of the bag was already interesting enough.  for my straps i simply went to Hancock Fabrics and bought enough webbing off the roll to make two straps.  one thing i do wish i had done differently was put the straps in a little further form the sides of the purse.


another change i made was in attaching the inside pockets.  in the blog they attached the divided pocket and flap pocket once they had already pleated the lining pieces.  i wanted the lining pieces to be able to fan out to fit the outer layers, so i attached the pockets onto the flat lining pieces THEN pleated them.


this was my first time inserting a magnetic snap, but it is DEFINITELY not my last.  i didn't realize how easy they were to install!  my next project i'm going to use one on is for a wallet i keep saying i'm going to make to go with my new purse (keywords "going to", but i AM the queen of procrastination).


once that was done it was time to attach the lining and outside together and flip it.  after i flipped it and closed the opening i topstitched around the top of the purse.


and ta-da!  the finished product.  i absolutely love my new purse and switched everything over to this one as soon as i was finished with it.  now i just need to get around to making the wallet i want.


Friday, May 24, 2013

Retro In Lime Green & Cherries - Simplicity 2176

so for all you lovely readers who don't know, i absolutely love the 1950s and 1960s.  my love for these eras is what inspires almost all of the clothing i make for myself.  so, i was really excited when i found this awesome dress pattern by Simplicity!


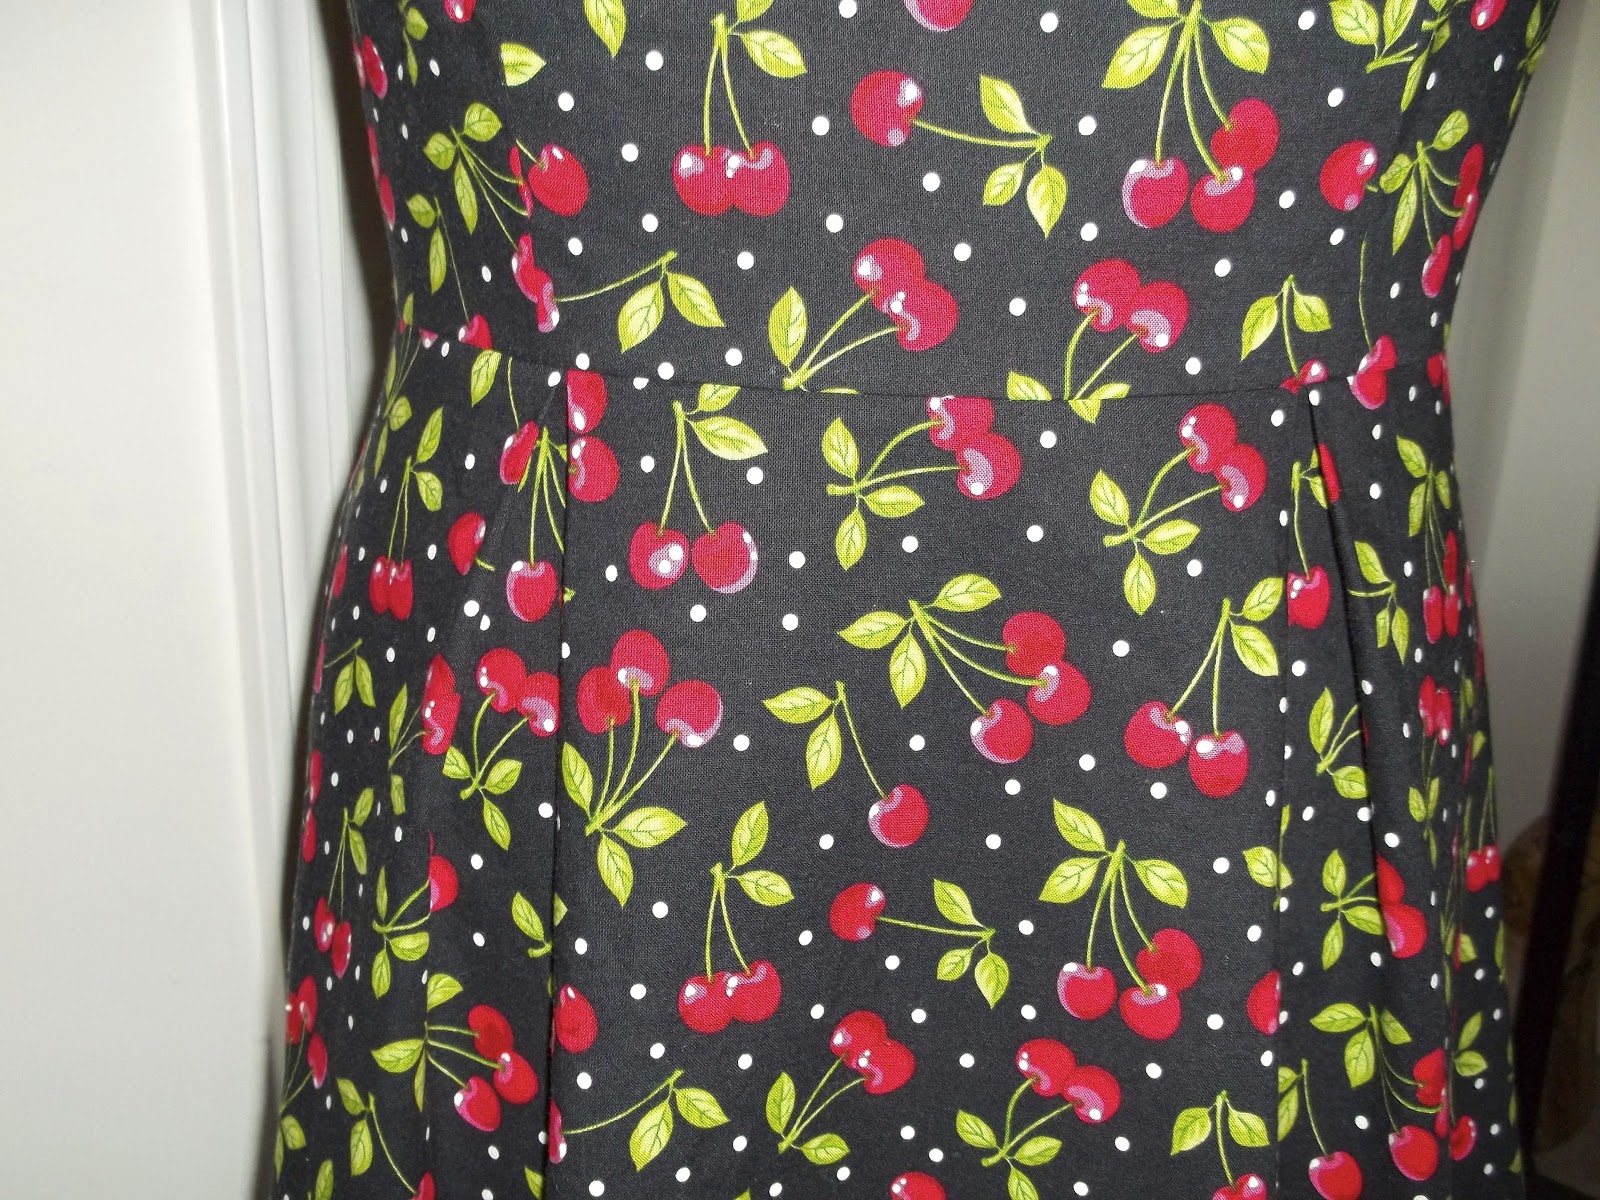
for my first version of the dress i opted for the view made from the plaid material.  this view features a flap-type band around the top of the dress.  since i have an obsession with anything cherries, i decided to make the first version from this awesome cherry print cotton i bought at Joann.  to jazz up, the top band flap i added red piping.  i love piping too, and the little hint of fun it can add to any project!


as another bonus, i added pockets to both versions of this dress.  i mean, pockets only make a dress even better!


a couple changes i made to this first version of the dress were: 1) doing box pleats at the front and back, instead of regular pleats and 2) doing a centered zipper, instead of a lapped one.  i don't know what it is, but for some reason i'm not a fan of regular pleats...but i do love me a good box pleat!  plus, box pleats are so easy to do.


to finish off the dress, i did a simple blind hem.


now i can enjoy another retro-inspired piece of clothing made by my own hands! (ps - the dress isn't lopsided, leave it to me to stand weirdly.)


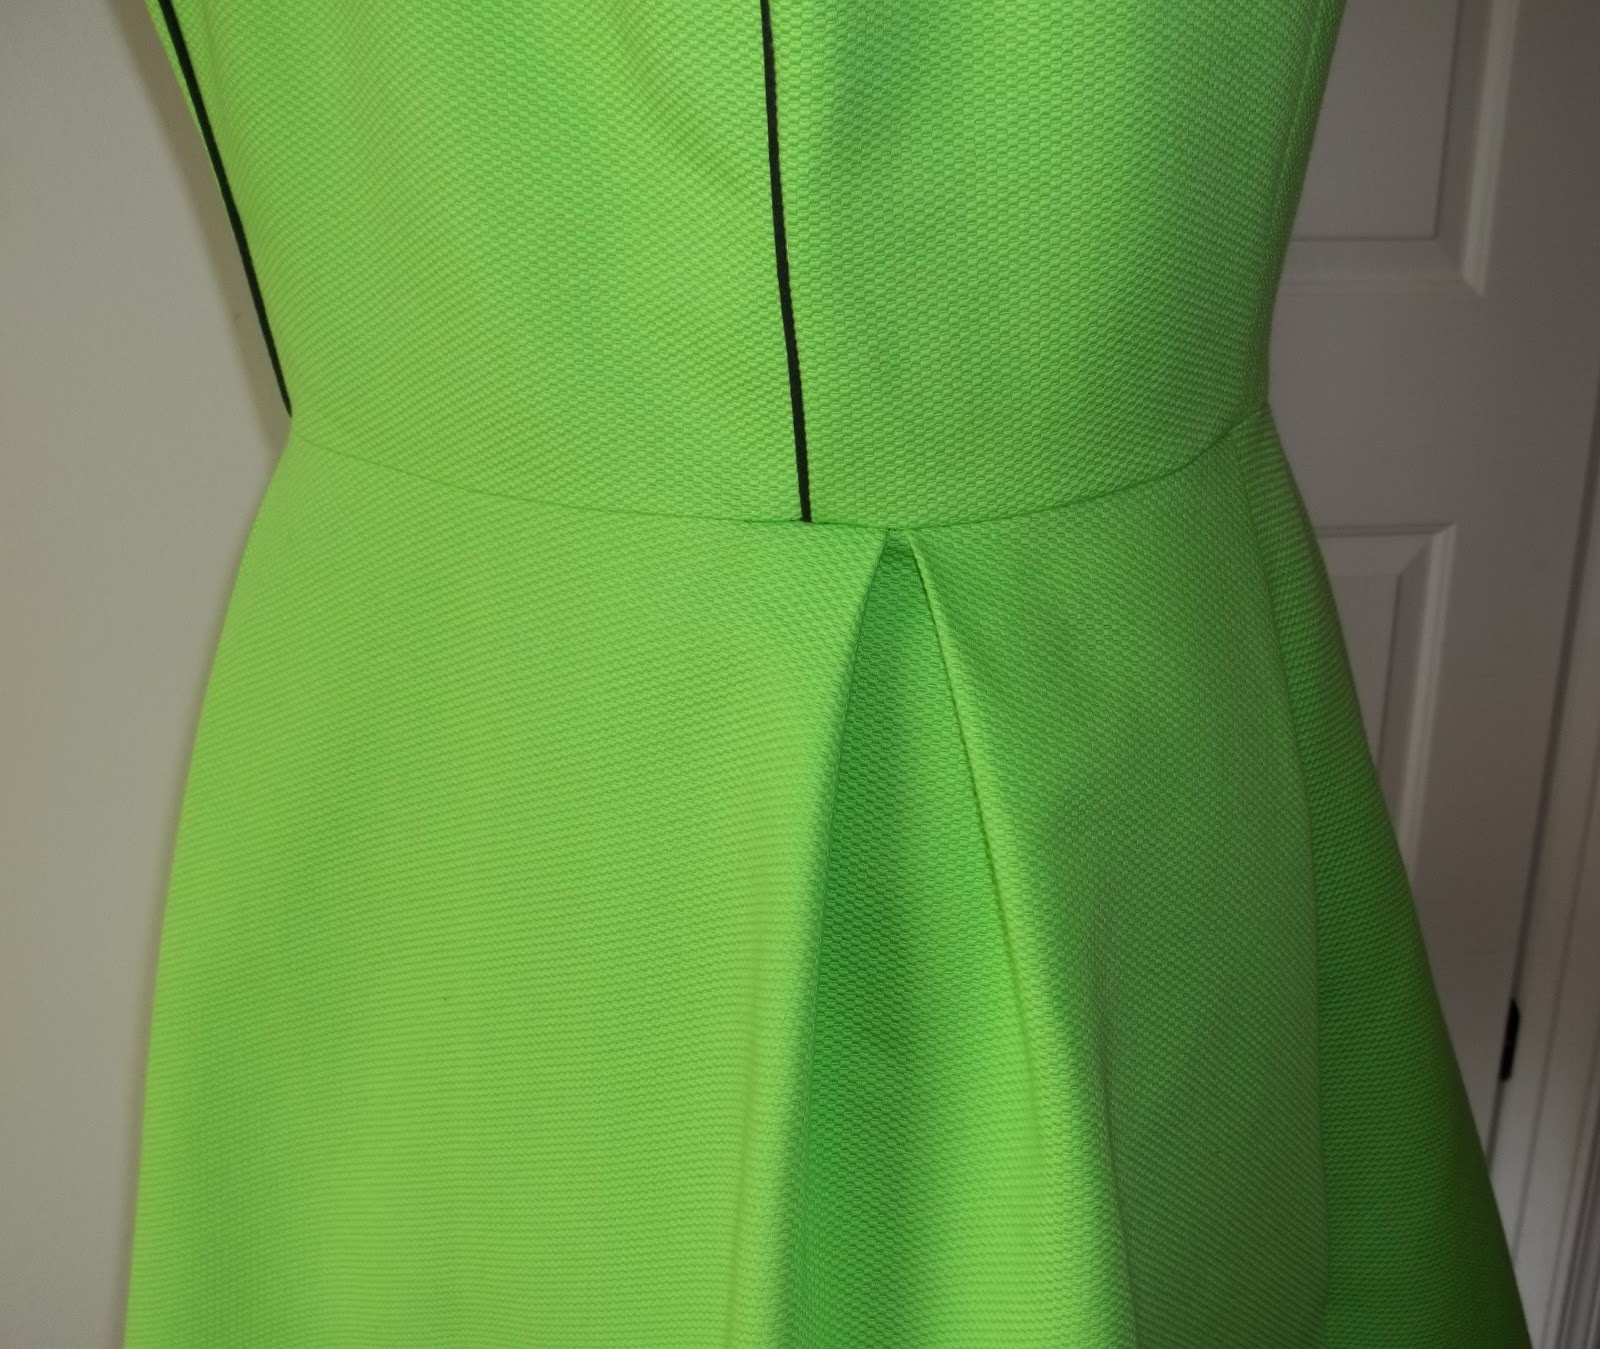
once i had the cherry version of Simplicity 2176 made, i knew i HAD to use this awesome lime green pique cotton when i saw it in Hancock Fabrics.  once again, i decided to use some black piping to jazz the dress up a bit.  with this version of the dress, i didn't do the flap-like band around the top.  for the piping i added it to the outer edges of the straps, around the bottom of the top band, and along the princess seams.  also, lesson learned, put the piping in away from the edge of the fabric, instead of making it flush with the cut edges of the pieces.  i didn't realize until it was too late that i should've done that, so the bodice fits a smidgen big, but not too much to bother me or be noticeable.


i also added the awesome pockets again and did my infamous box pleats.


with this version i decided to go ahead and do the lapped zipper.


to finish off the dress i ironed up the hem then hemmed it by hand using a slip stitch.


now i have two versions of this awesome dress, and am looking to make more if i can get my hands on some awesome printed fabric.  prints i would love to use with this dress pattern include:

Really, Really Retro - Glasses Black

Amy Adams for Riley Blake, Geekly Chic, Records Teal

Ragnar, Mad Mod, Main Abstract Ecru
until next time my fabulous readers!

Tuesday, May 21, 2013

A Blanket for Baby

hello wonderful readers!  i know, it's been such a long time since we've last met, and i'm sorry for that.  i've now completed my first year of fashion design school! craziness!!  this past year has been great, and i can't wait for the rest of these years!  well, now that school's out for the summer i've been able to get back to sewing for myself and others and updating my blog.  this project i actually did while the semester was still in session.

my cousin was pregnant with her 1st baby, a boy, and so i decided i wanted to make her something for her baby shower.  my creation of choice, a cute little baby blanket.  i found this awesome tutorial over at Tie It With A Bow for a simple baby blanket.  this was the first time i had ever made a baby blanket, but i was not daunted by the idea and persevered on!


for my blanket i bought the green with dinosaurs at Hancock Fabrics and the polka dots and safari animals at Joann.  i also bought light green minky for the blanket backing.


once i had all the squares sewn together i stacked all the layers (minky on bottom wrong side up, batting, then quilt layer on top) and stitched-in-the-ditch on top.  i then took the blue satin blanket binding and sewed it around the edges, with help from this great tutorial, using a decorative zig-zag stitch.


and all finished!  easiest 1st-time baby blanket ever!  i made this in February, and now this precious little boy, born in March, is here to enjoy it!!


Tuesday, March 26, 2013

The Black Pleated Skirt

i had been needing a solid black skirt for some time now...so i decided to whip one up with some forgotten black fabric i had.  and by forgotten i mean, i bought it a while ago at Hancock Fabrics, left it in the bag in my room, and somehow it got buried under clothes.  then i happened to find it one day when i saw a plastic bag sticking out from under the clothes mound.  yes, i was surprised when i looked in the bag...and it was an awesome surprise!  my solid black skirt could come to fruition!

for the skirt i reverted to my favorite silhouette...the circle skirt.  instead of doing a full circle skirt i did a 1/2 circle skirt.  i then created a waistband and did a simple button closure at the top of the zipper.


i also added pockets, because no skirt or dress is complete without them, using the ones from the pattern for The Houndstooth Coat.


another detail i added to the skirt was the inverted box pleats.  i did two in the front and two in the back.  i love the shape and flare the pleats add to the movement of the skirt.


i couldn't been any happier with how the skirt turned out, and i feel like i need to make another one because i end up wearing this one so much since it is my only black skirt.  plus, it goes perfectly with all my colored tights!

first time wearing the skirt after making it

Monday, March 25, 2013

Blog Catch-up: Shoes For Baby

hello all my wonderful readers!  i know, it's been such a long time since my last post!  mostly in part to me being in school and staying tied up with homework.  i do hate that i'm not able to do as much sewing as before, but i absolutely love school and everything about O'More!!

this post is about a little, literally little, sewing project i did back in december.  one of my former co-workers' daughter was pregnant with her first baby, and my co-worker's first grand baby!  everyone in their family was so excited about the news...and even more excited when they found out it was a little girl.  when i found out they were having a little girl i knew i wanted to do some sewing for the little miss...who is named Savannah Jane, and she made her debut in February.

i had some leftover fabrics and decided to whip up something from those.  i went to Hobby Lobby on one of their $0.99 Simplicity pattern days and found a cute pattern for some baby booties and shoes.  i chose the little shoes that had the strap going across the top.

this was my first time ever making baby items and so i followed this pattern to a 't'.  it was actually really fun making these shoes because they were so tiny and they turned out so cute.


for these multicolor ones i did a cute little plastic heart button on the top of the strap for a cute little detail.


for these blue and green ones, i chose the awesome flat, felt buttons that coordinated with the button-shaped flowers on the fabric.

when i finally got these surprise shoes to the granny-to-be she was so ecstatic about them!  seeing the reaction of joy on her face reminded me even more why i love to make surprise items for people!  i also found out not too long ago that her other daughter is expecting her first baby, a boy, in june...so there may be another surprise baby gift in the works.  until then, onto the next blog catch-up!!