so i was lookin at my blog and realized that my last post was in may! wah, no june posts?! i was on vacation last week, and really i haven't done a lot of sewing this month...other than fixin a couple pair of shorts for a friend. one project i did work on was trying to come up with my own pattern for a pair of 50s-inspired, high-waisted shorts. at first i followed directions i found another site to make some - those ended up awful. ha! the pattern for those is still in the works, so until i get the pattern perfected (which design school will def help with) i've moved along. one project i did manage to finish this month was makin my own hammock! i finished it quite some time ago but kept procrastinating - one of my fortes - with making a post for it. so here ya go!
i've always wanted a hammock (i've eyed the
ENO hammocks) but didn't want to shell out the money for one. and no, i don't have anywhere inside or outside of my house to hang one, but hey, it's good to have one just in case! :) so i'll give you the instructions on how to make your own too! i did some research online for materials and quantities needed. to make your own hammock you will need:
ripstop nylon
polyester rope
carabiners (or materials for hanging up your hammock)
thread
how much fabric you need for your hammock depends on how tall you are and how big you want it to be. i did read online that an easy way to figure out how much you need is to take your height in inches and add 24 inches to that. this will tell you the minimum amount you need. for instance: my height is 5'7"= 67"+24"= 91". so, i need at least 2.5 yards of fabric. it's good to use more though if you want it to be more comfortable. (for my next one i will def use more fabric)
step 1:
i bought a total of 3 yards of 60" wide ripstop. for the width of the hammock, you can also make that as wide as you like. i didn't want mine too wide so i took both colors of my ripstop and cut them in half longways. i then took one of the panels and cut it in half again. so my hammock consists of two colors, three panels. when you have the panels, sew them together using french seams.
i used french seams and a double stitch to add extra strength to the seams to protect them against my weight. it also helps in preventing fraying since this fabric frays easily. next you'll do a rolled hem on three edges. if you're going to make an attached bag by cutting off fabric from the end do not hem one of the short edges. if you're not going to make a bag, or you're going to use fabric from somewhere else you can hem all four edges.
once you have the panels sewn and edges hemmed you can continue to step 2 to make the attached storage bag, or skip to step 3.
step 2:
to make the storage bag you can cut off fabric from one end like i did-but now regret- or cut fabric from the other extra fabric. now if you buy enough fabric to still have a hammock with lots of length it'll be fine to cut off fabric from the end. since i cut off from the end my hammock then went down to 2.5 yards, instead of 3 yards. to make the bag i simply cut a 9"x11" rectangle. using half inch seams my finished product ended up being 8"x10". once you have the bag turn down the top to make a tube for your drawstring. *do not insert your string yet* now that you have your bag we'll attach it to the hammock. to do this decide which side you want your bag on. with your bag inside out you're going to sew the layer that is on top to the underside of the hammock, keeping in mind that on one end of the bag don't sew all the way to the seam so you can insert your string. i basically tried to line up the seams of the hammock and bag and sewed along that line to attach.


next, you can turn your bag right side out and you will see how the edge of the hammock it's sewn to is inside the bag.
step 3:
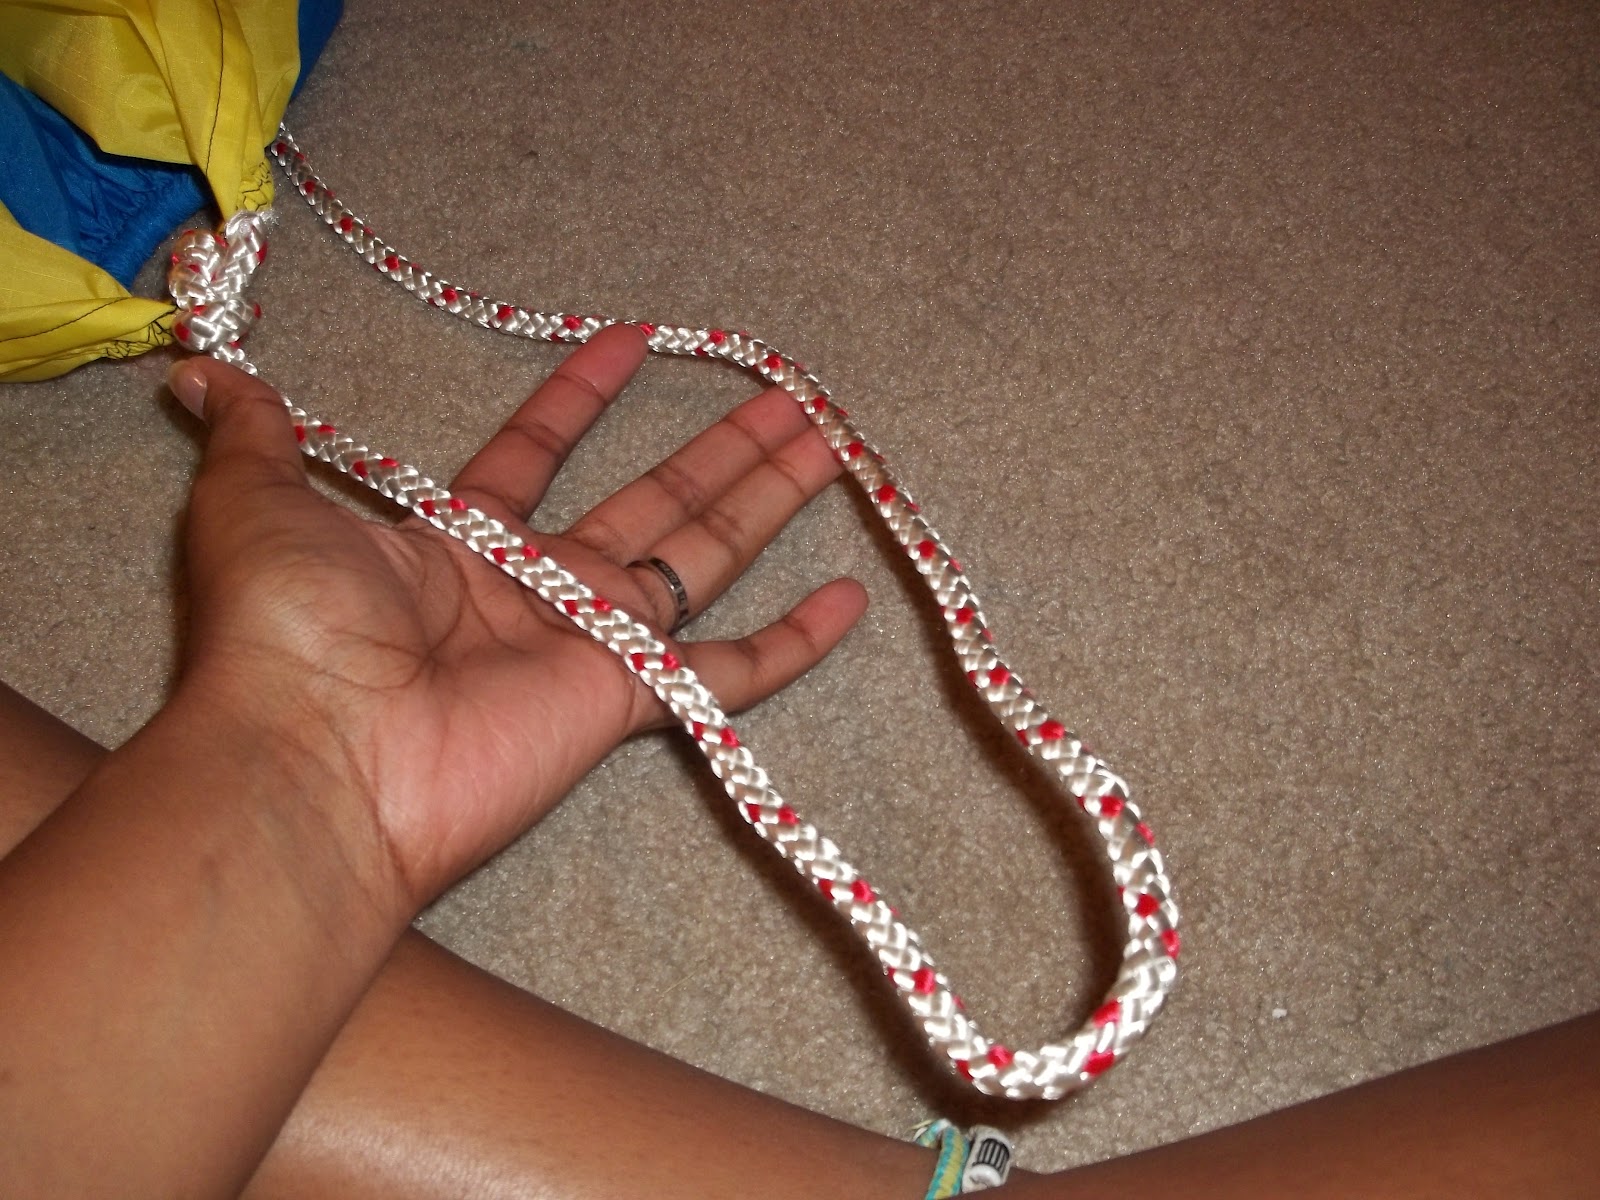
now that your edges are hemmed and the optional bag is attached we'll add the hanging rope. first you'll need to make the casing for the rope on both short ends of your hammock.
to figure out how big the casing should be i wrapped the fabric around my rope, but you can also make it bigger than rope and it will be fine. once you have your casing simply feed your rope through. next you'll need to tie your rope in a knot near the hammock. to do this i scrunched the fabric up on the rope then did a simple square knot to secure it. then you'll do an overhand knot at the other end of the rope to create a loop once you decide how long you want your rope to be. cut and burn the end to prevent fraying.
step 4:
once you have your rope attached at both ends it's time to finish up your hammock. cut open the little seam on your bag to string your drawstring through the casing of your bag and add a carabiner through each rope loop. and now your hammock is complete!! to store your hammock in your bag you can scrunch it in or do what i do. i roll each end with the rope towards the inside then roll the fabric towards the bag and slide it in.
well, now that you have your hammock you have to decide how you want to hang it. there are lots of ways online but the simplest, and most tree-friendly way, is using tree straps, or also know as slap straps. in my next post i'll show you how to make your own pair of slap straps. i even made mine fun and used tie-dye webbing!